
The Devil is in the Details
Depth of Field and Depth of Focus
Theory
Hands-on
Depth of Field and Depth of Focus
Concept demonstrated
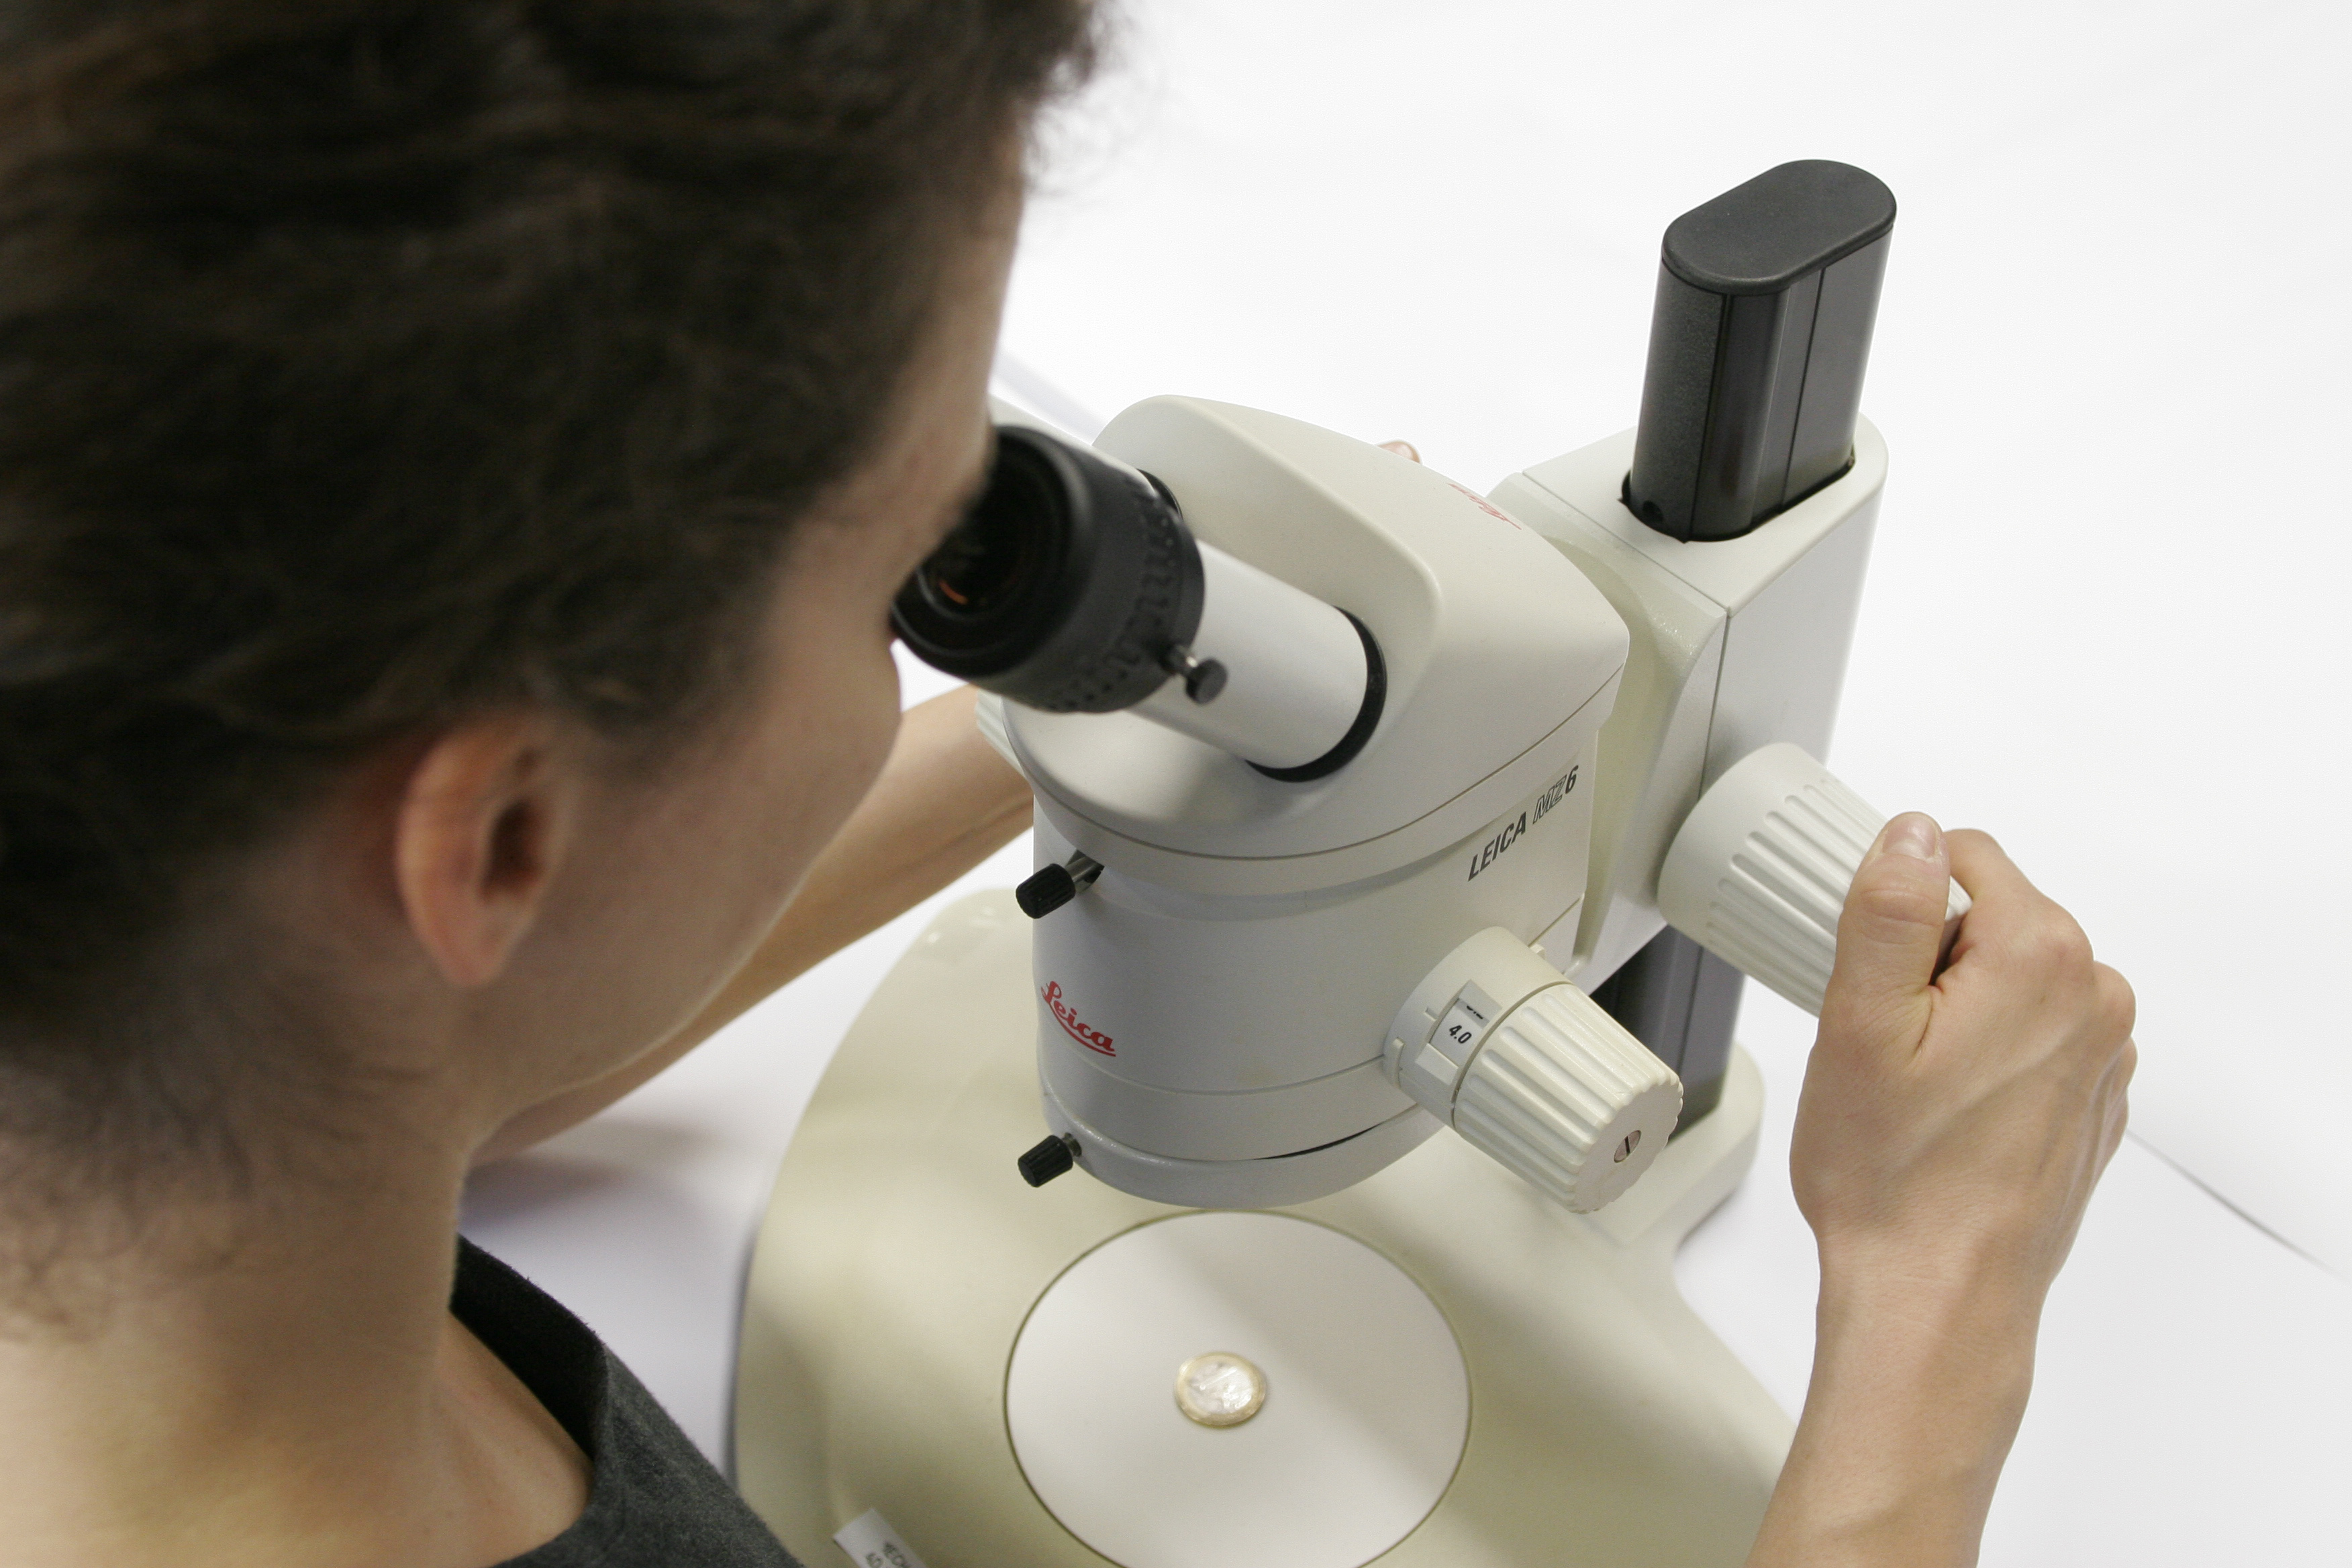
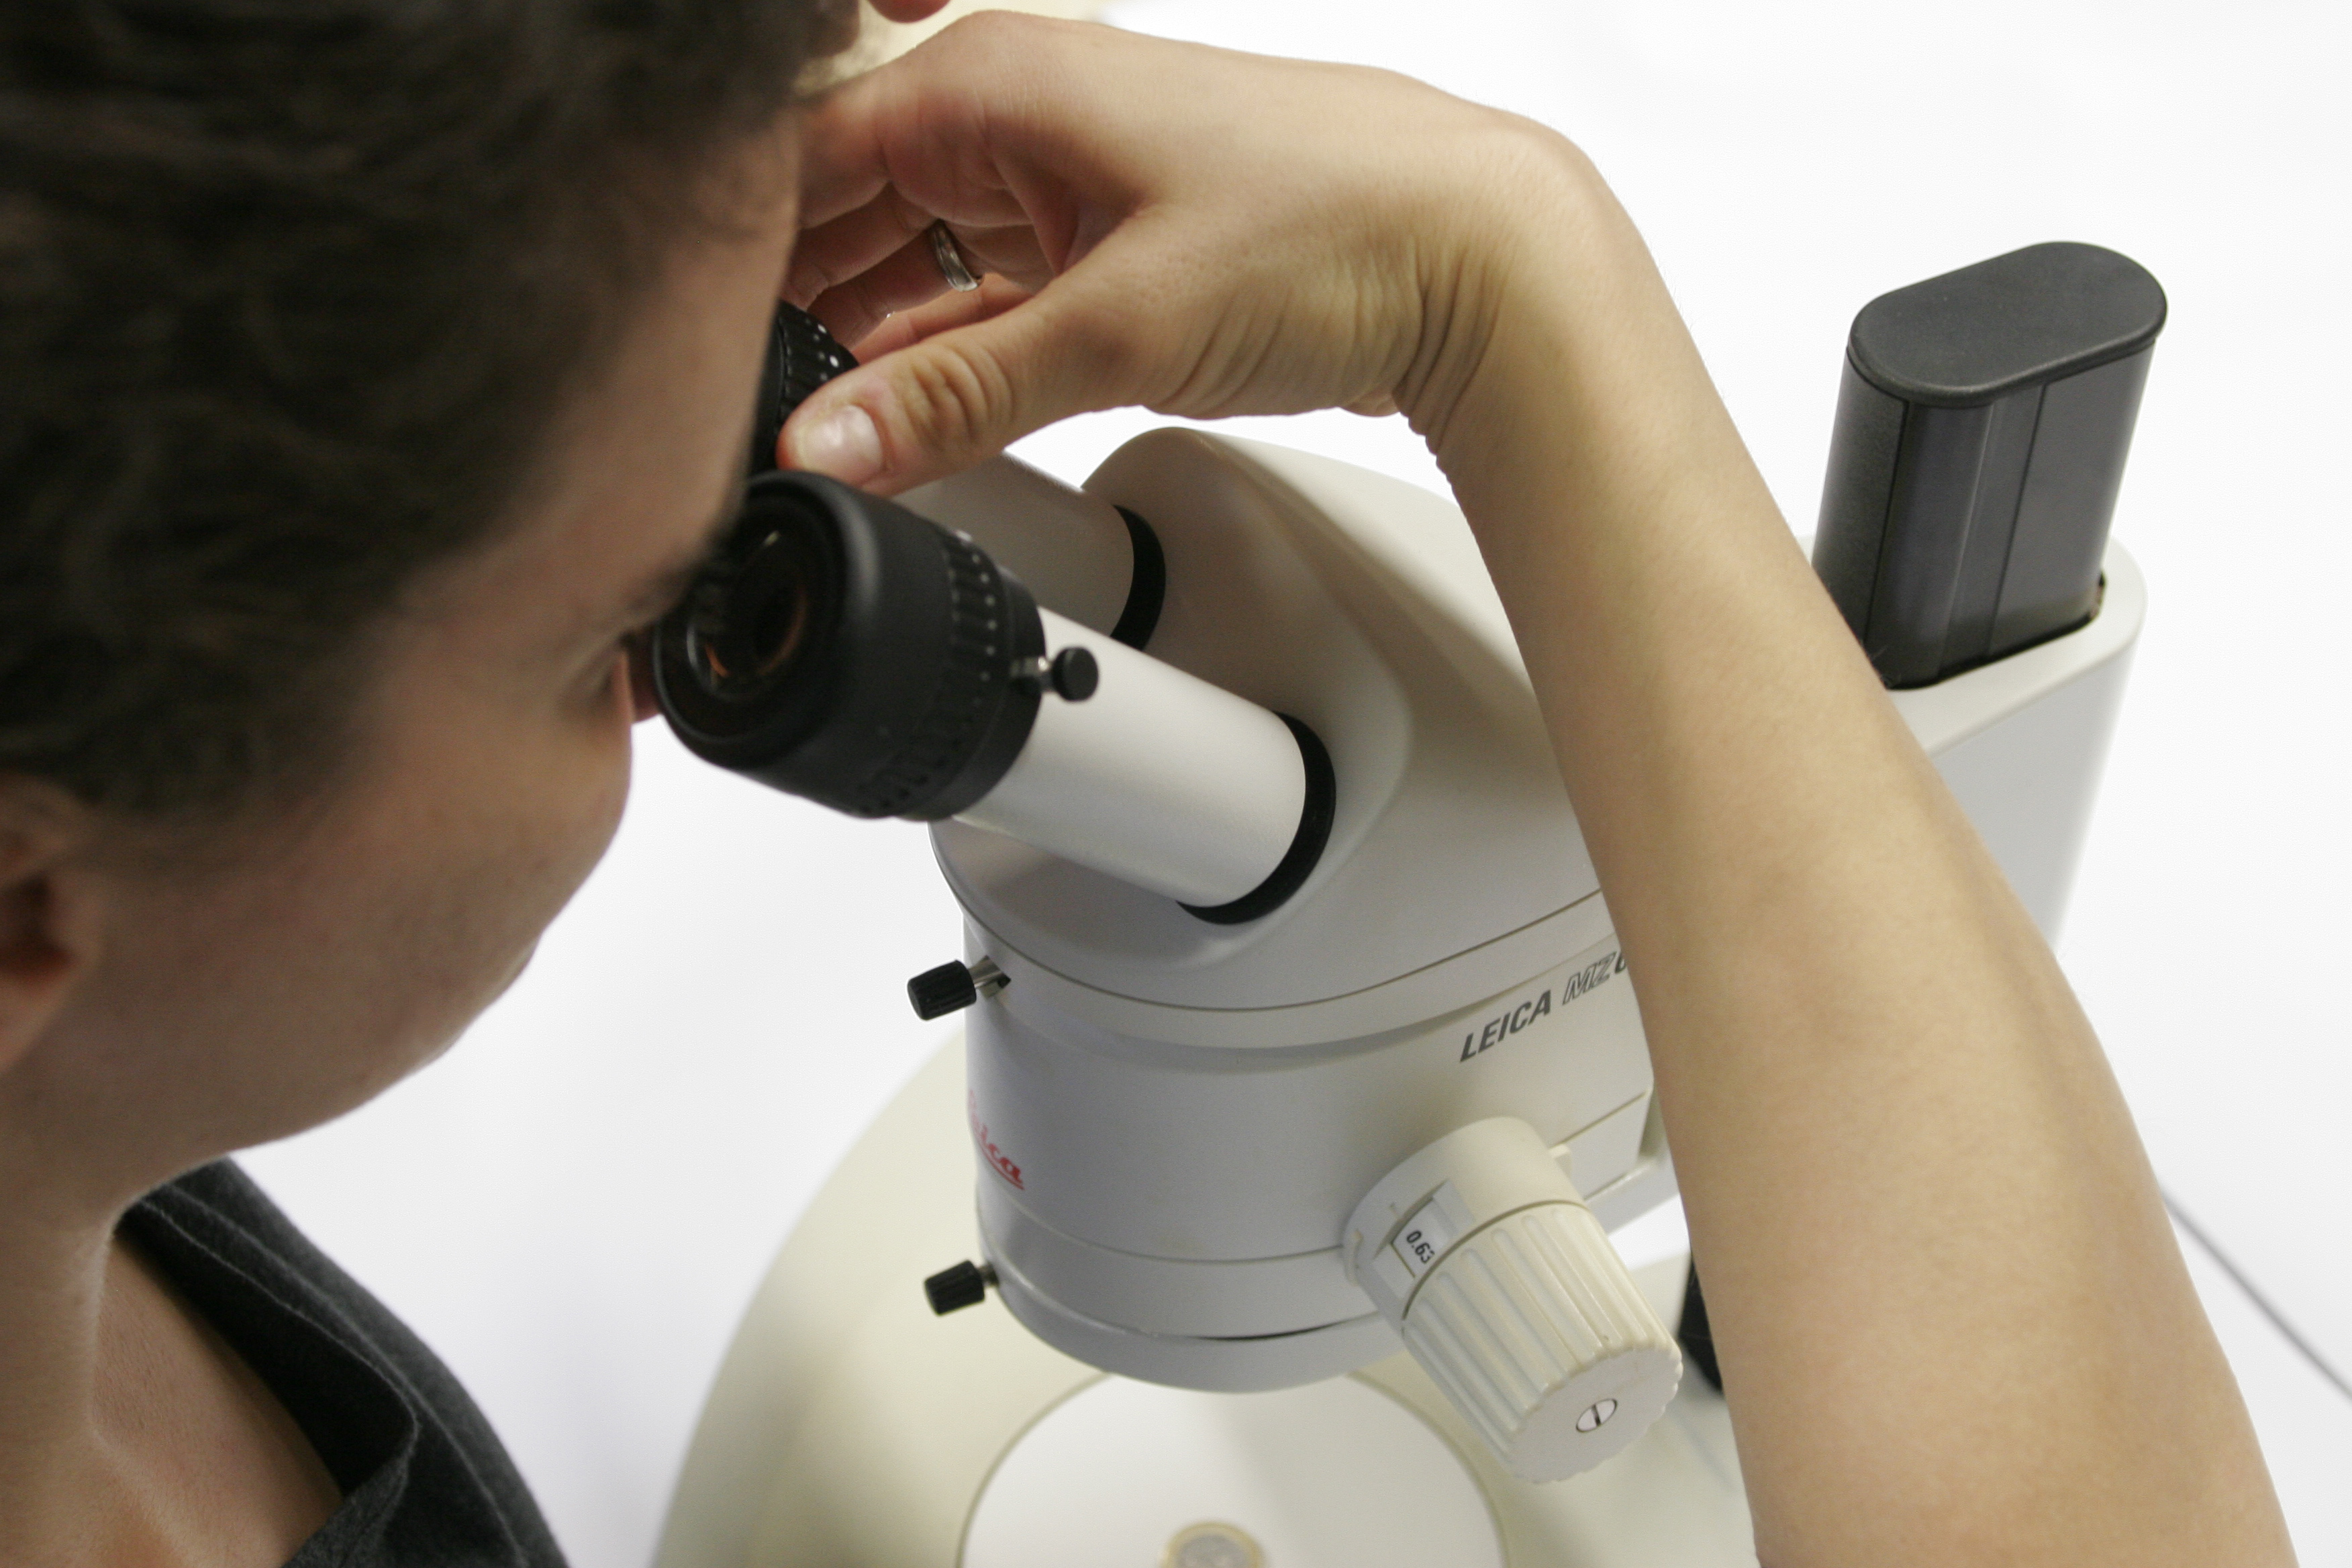
Show students how to properly align their microscope for parfocality by teaching them the concepts of depth of field and depth of focus.
Materials
Any microscope with adjustable eyepieces and several different magnification (air) objectives will do. For demonstration purposes, a stereoscope/microscope with a continuos magnification changer and adjustable eyepieces is most suitable.
Practical Setup
The students stand around the demo-microscope while teacher explains and shows how to set the microscope up for proper parfocality. Then they should repeat on their student microscopes (or in turn on the demo set up).
How to:
Idea/Implementation
Peter Evennett, Jan Peychl
Objective Reading
Theory
Hands-on
Objective Reading
Concept demonstrated
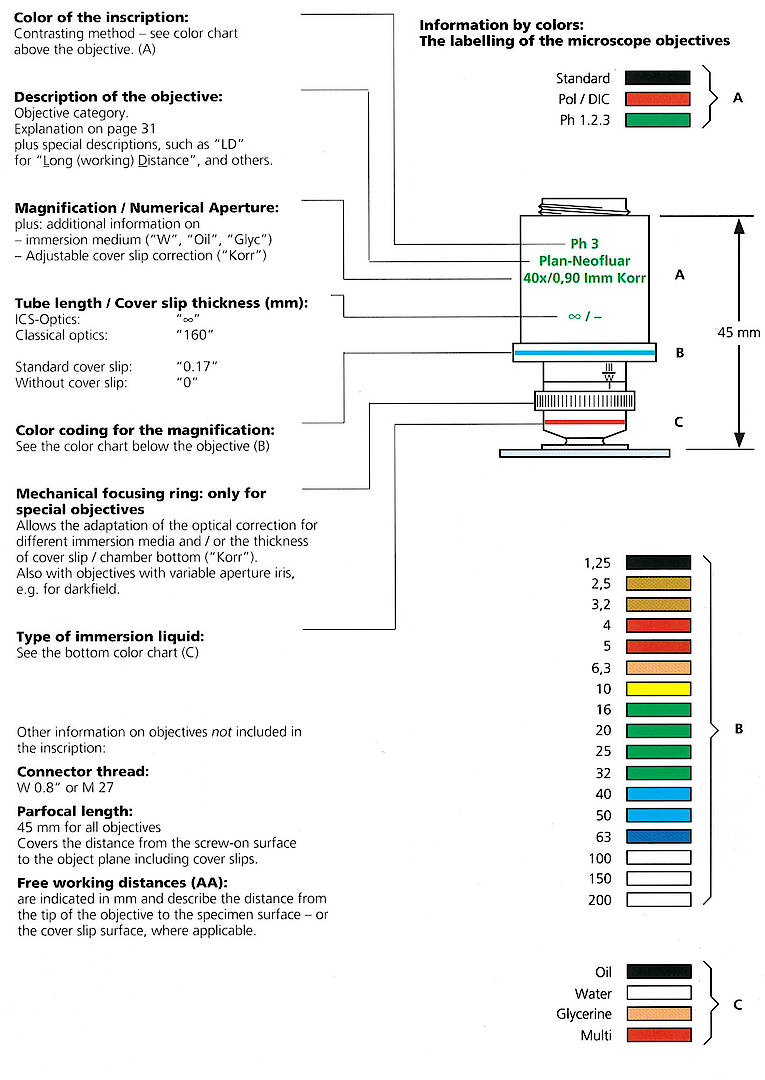
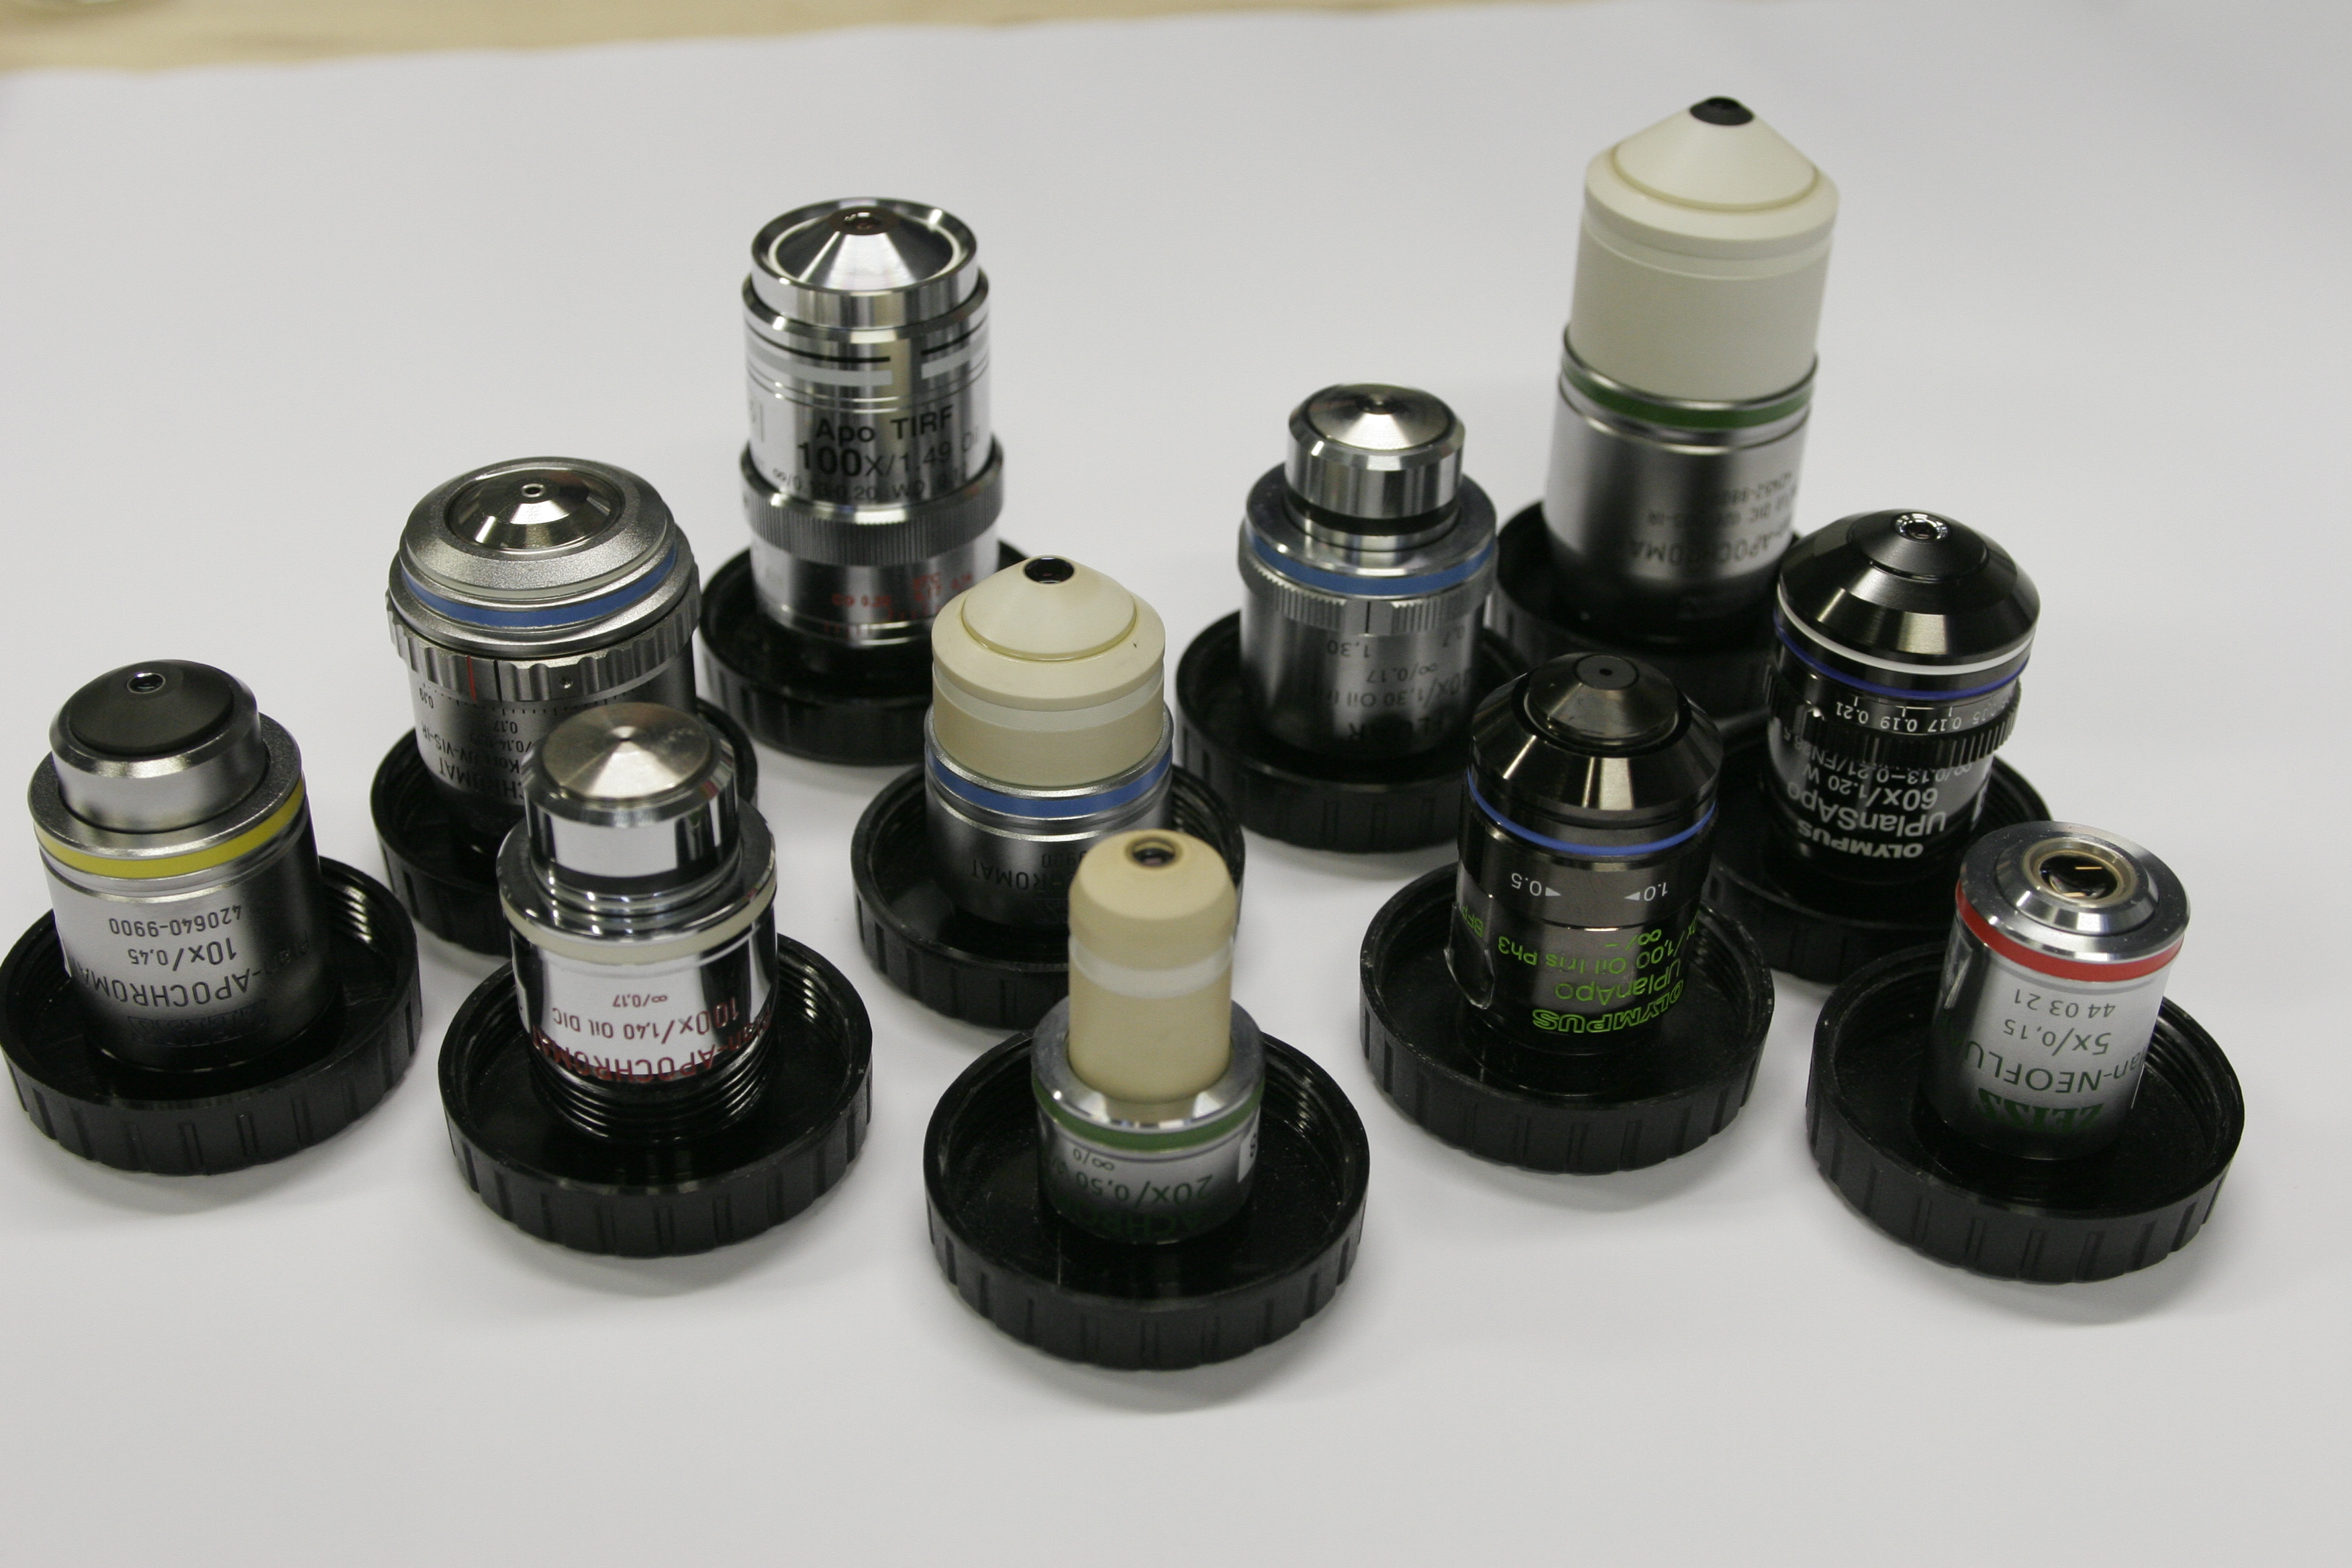
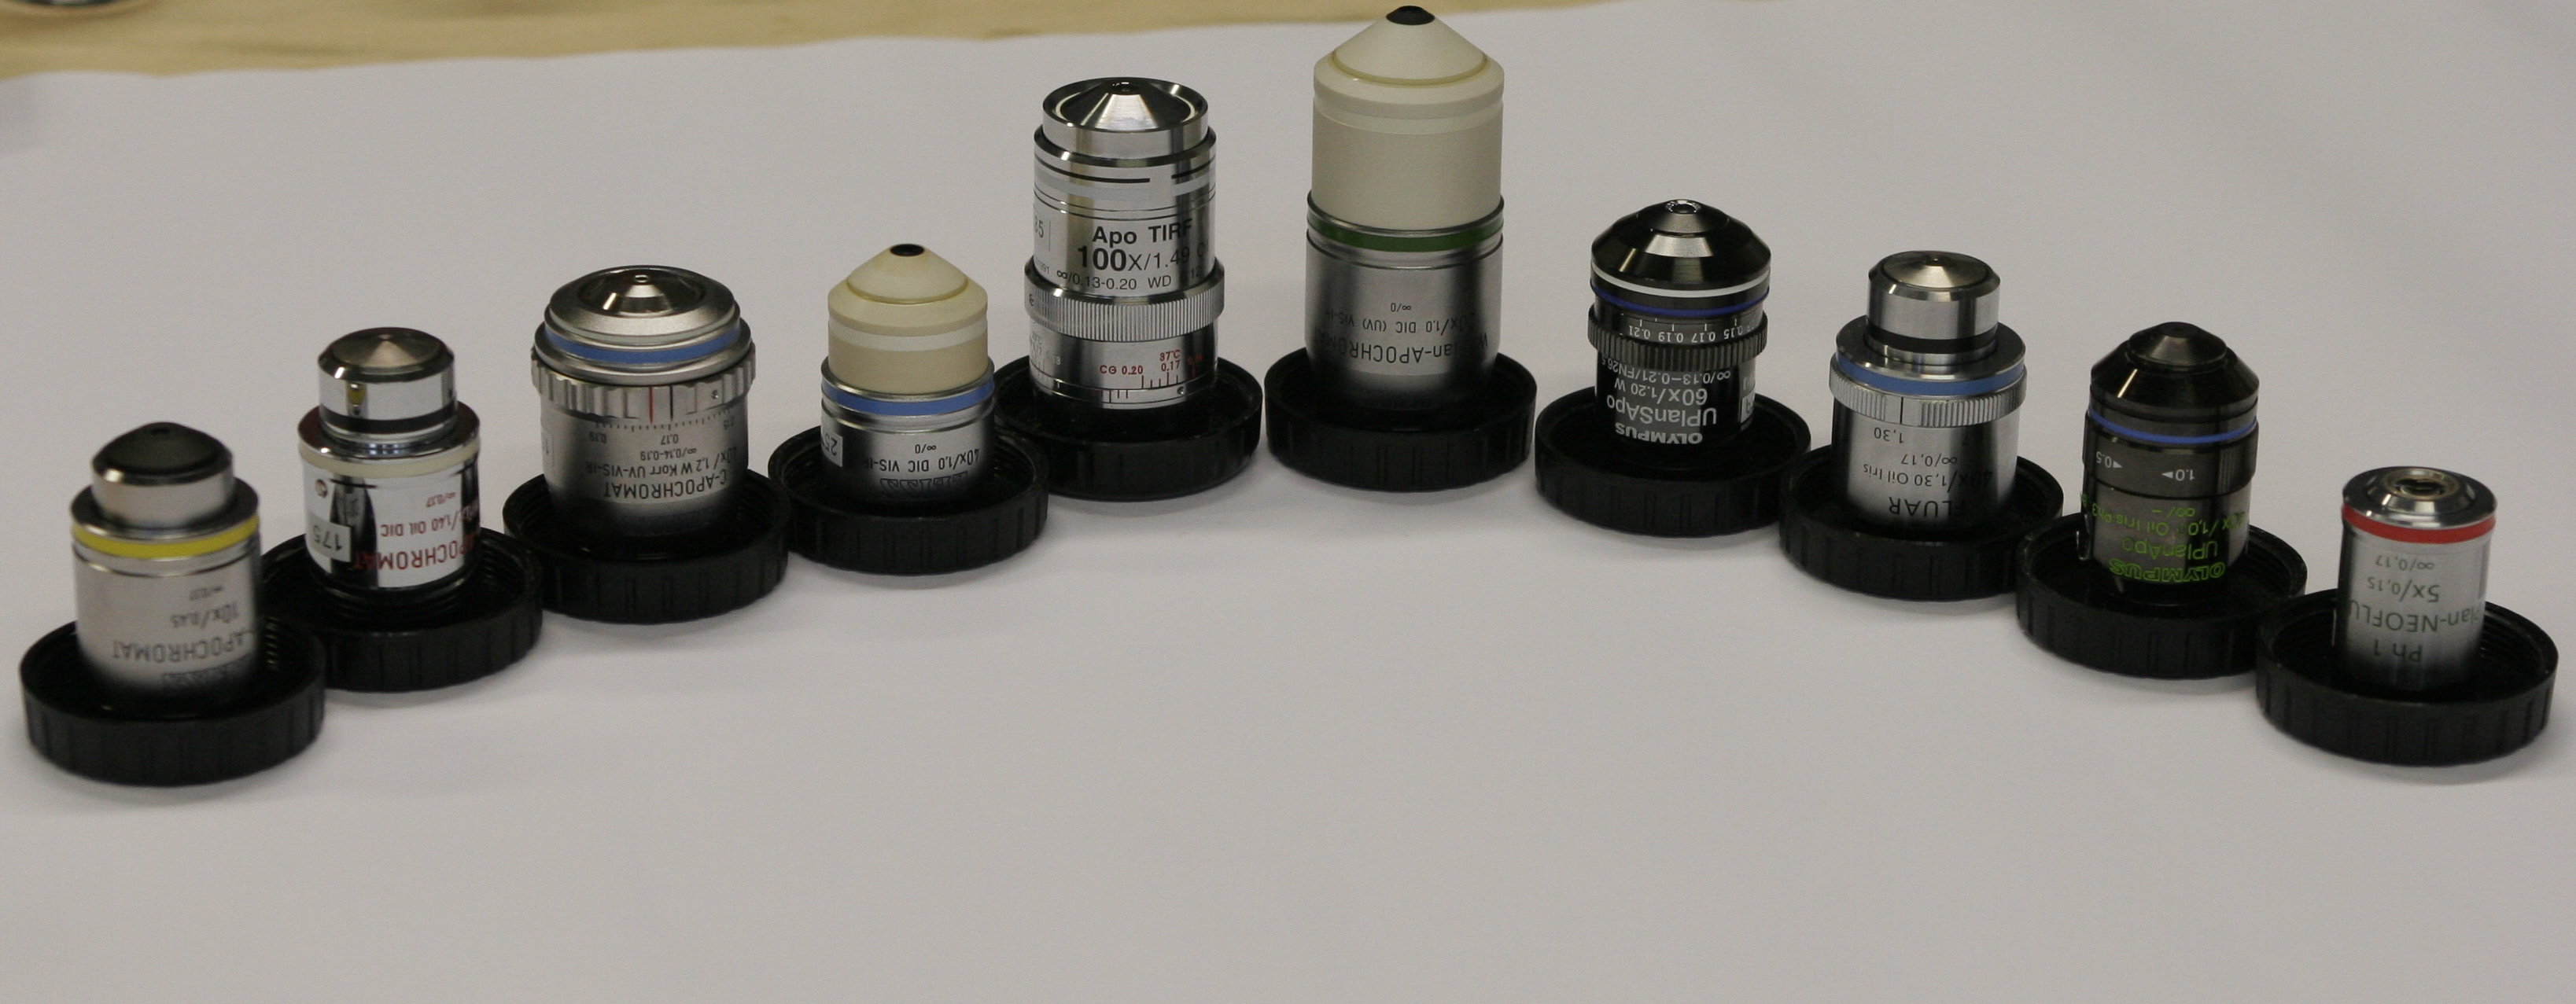
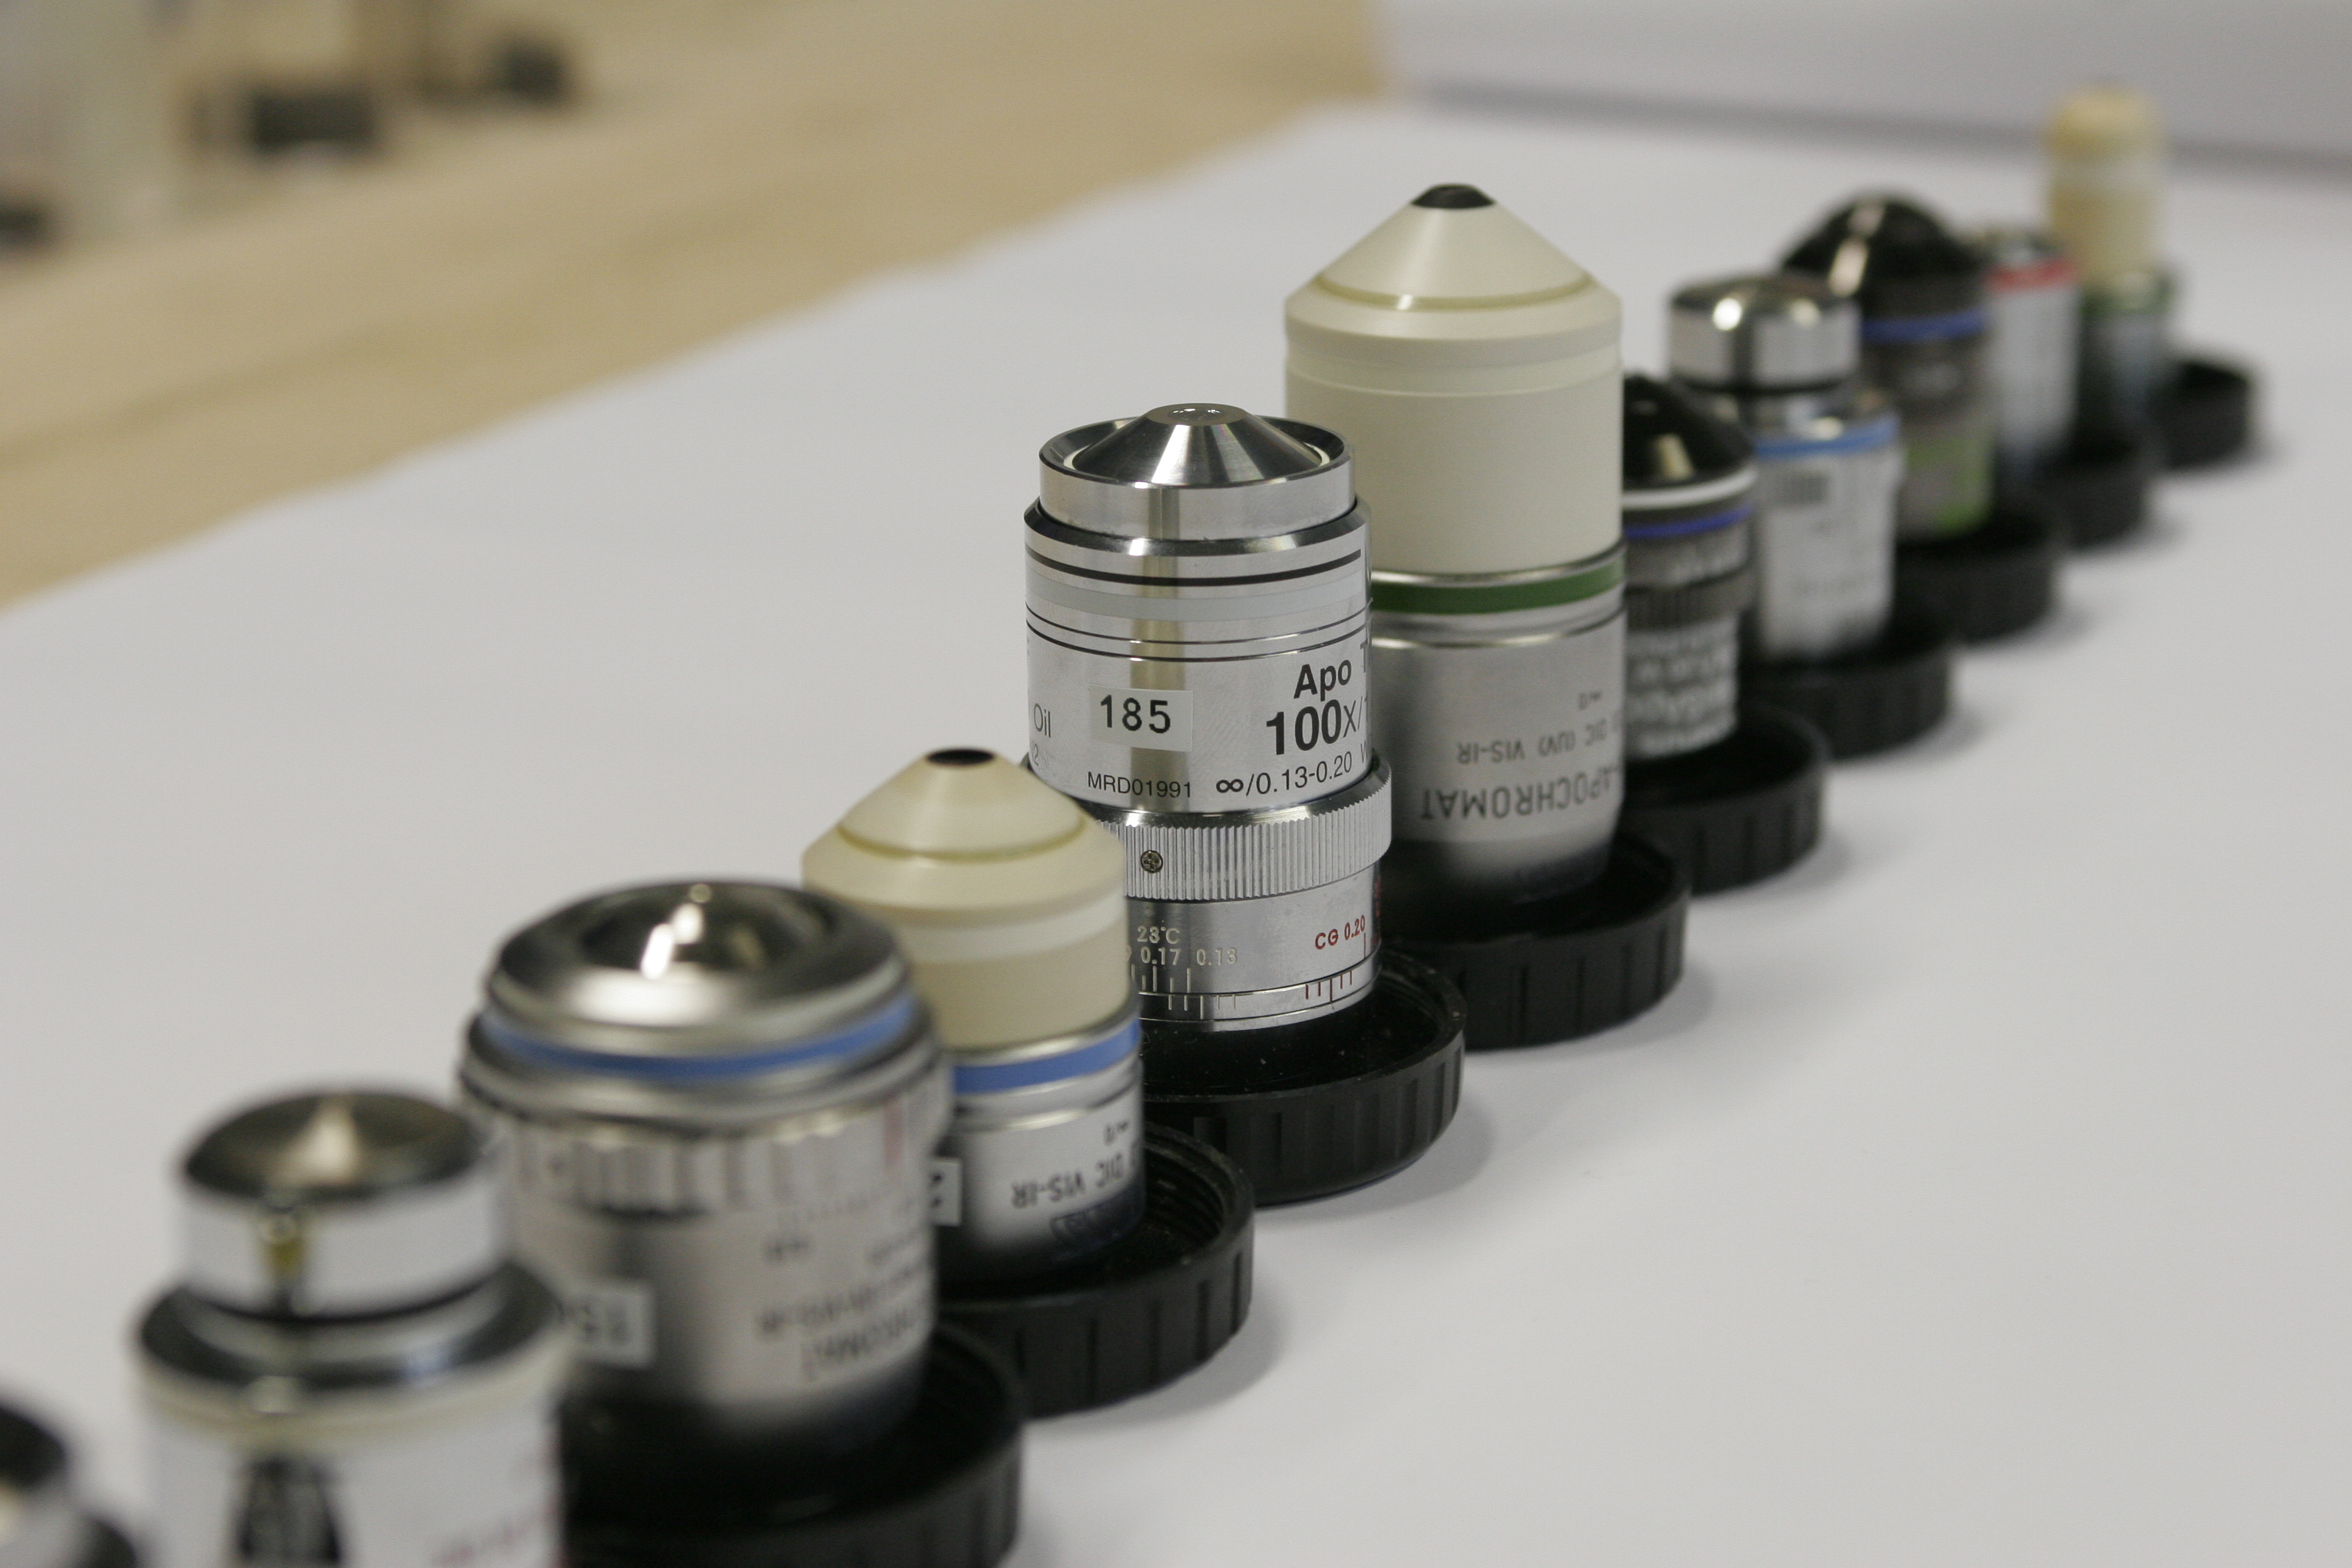
Most students have no idea what all those numbers on microscope objectives stand for. The idea is to present them with a range of different objectives and help them understand them.
Materials
- A range of different objectives: different vendors, magnifications, NAs, working distance, contrasting methods, immersion method, coverslip thickness, working distance etc.
- Have at least enough objectives so that each student has one.
Practical Setup
Idea/Implementation
Peter Evennett, Britta Schroth-Diez, Silke White
Digital Image Sampling
Hands-on
Digital Image Sampling
Concept demonstrated
Helps students to get a feeling for pixel sizes, resolution and the correct sampling.
Materials
for each student:
Practical Setup
Idea/Implementation
Dan White, Britta Schroth-Diez, Jan Peychl