MPI-SD3 - Zeiss Spinning Disc - startup & shutdown
(Created page with '== Startup ==') |
|||
| Line 1: | Line 1: | ||
| − | == | + | == Switching on the system == |
| + | |||
| + | Every component you have to switch on is labeled with a number (from 1 to 8). | ||
| + | |||
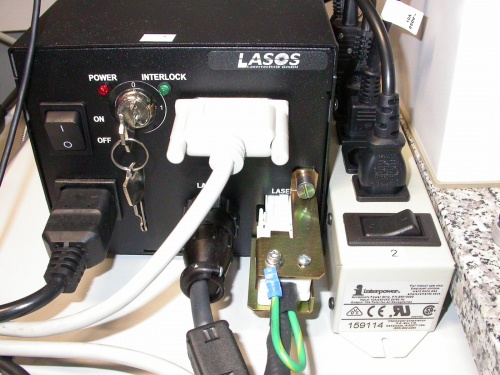
| + | First, switch on the Argon laser (number 1) by pushing the black button to "on". Then turn the key around to "1". On the right you find the button for the laser module, switch it on (number 2). | ||
| + | |||
| + | [[image:First_SD3.JPG|750x375px]] | ||
| + | |||
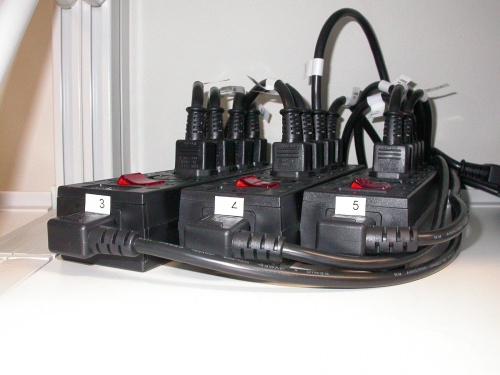
| + | Afterwards, switch on the three buttons (number 3,4 and 5) on the shelve above the monitor. Number 3 is the stage, number 4 the definite focus and number 5 the metal halide lamp. | ||
| + | |||
| + | [[image:Second_SD3.JPG|750x375px]] | ||
| + | |||
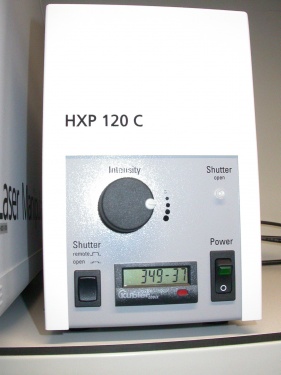
| + | If you really need the metal halide lamp, switch it on separately. | ||
| + | |||
| + | [[image:Lamp_SD3.JPG|750x375px]] | ||
| + | |||
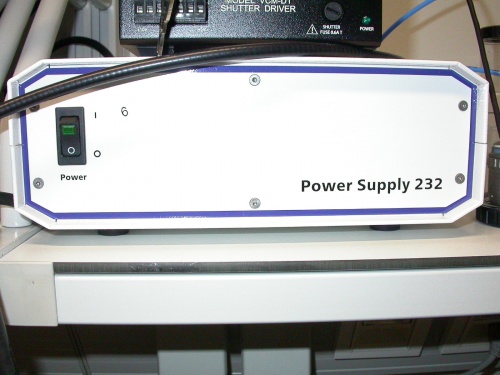
| + | Go on with the stand power supply 232 (number 6). | ||
| + | |||
| + | [[image:Power_SD3.JPG|750x375px]] | ||
| + | |||
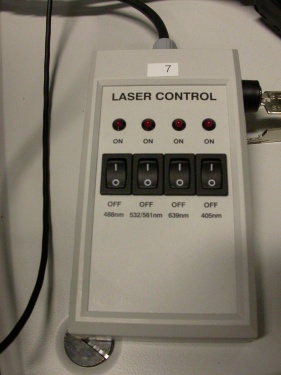
| + | Think about which lasers you really need and switch them on (number 7). Please leave the key in the horizontal position, use only the switches. | ||
| + | |||
| + | [[image:Laser_SD3.JPG|750x375px]] | ||
| + | |||
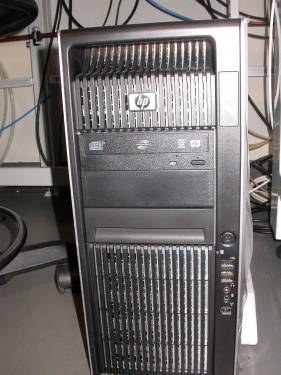
| + | Last, start the PC (number 8) and login. | ||
| + | |||
| + | [[image:PC_SD3.JPG|750x375px]] | ||
| + | |||
| + | |||
| + | == Switching off the system == | ||
| + | |||
| + | |||
| + | '''Before you do anything, please check the LMF booking database at the END(!) of your imaging session to see whether you are the last user or not!!!''' | ||
| + | |||
| + | === If you are not the last user... === | ||
| + | |||
| + | # Close the main software window. | ||
| + | # Upload your data to your file server. | ||
| + | # Log off the windows account via "Start" > "Log off...". | ||
| + | |||
| + | === If you are the last user... === | ||
| + | |||
| + | # Close the main software window. | ||
| + | # Upload your data to your file server. | ||
| + | # Shut down windows via "Start" > "Shut down...". | ||
| + | # Switch every component off, starting with number 8 and ending with number 1 (backwards to the beginning) | ||
| + | |||
| + | '''Don't forget to switch off the metal halide lamp if you have used it''' | ||
| + | |||
| + | [[category:hardware]] | ||
Revision as of 16:33, 6 October 2011
Contents |
Switching on the system
Every component you have to switch on is labeled with a number (from 1 to 8).
First, switch on the Argon laser (number 1) by pushing the black button to "on". Then turn the key around to "1". On the right you find the button for the laser module, switch it on (number 2).
Afterwards, switch on the three buttons (number 3,4 and 5) on the shelve above the monitor. Number 3 is the stage, number 4 the definite focus and number 5 the metal halide lamp.
If you really need the metal halide lamp, switch it on separately.
Go on with the stand power supply 232 (number 6).
Think about which lasers you really need and switch them on (number 7). Please leave the key in the horizontal position, use only the switches.
Last, start the PC (number 8) and login.
Switching off the system
Before you do anything, please check the LMF booking database at the END(!) of your imaging session to see whether you are the last user or not!!!
If you are not the last user...
- Close the main software window.
- Upload your data to your file server.
- Log off the windows account via "Start" > "Log off...".
If you are the last user...
- Close the main software window.
- Upload your data to your file server.
- Shut down windows via "Start" > "Shut down...".
- Switch every component off, starting with number 8 and ending with number 1 (backwards to the beginning)
Don't forget to switch off the metal halide lamp if you have used it
